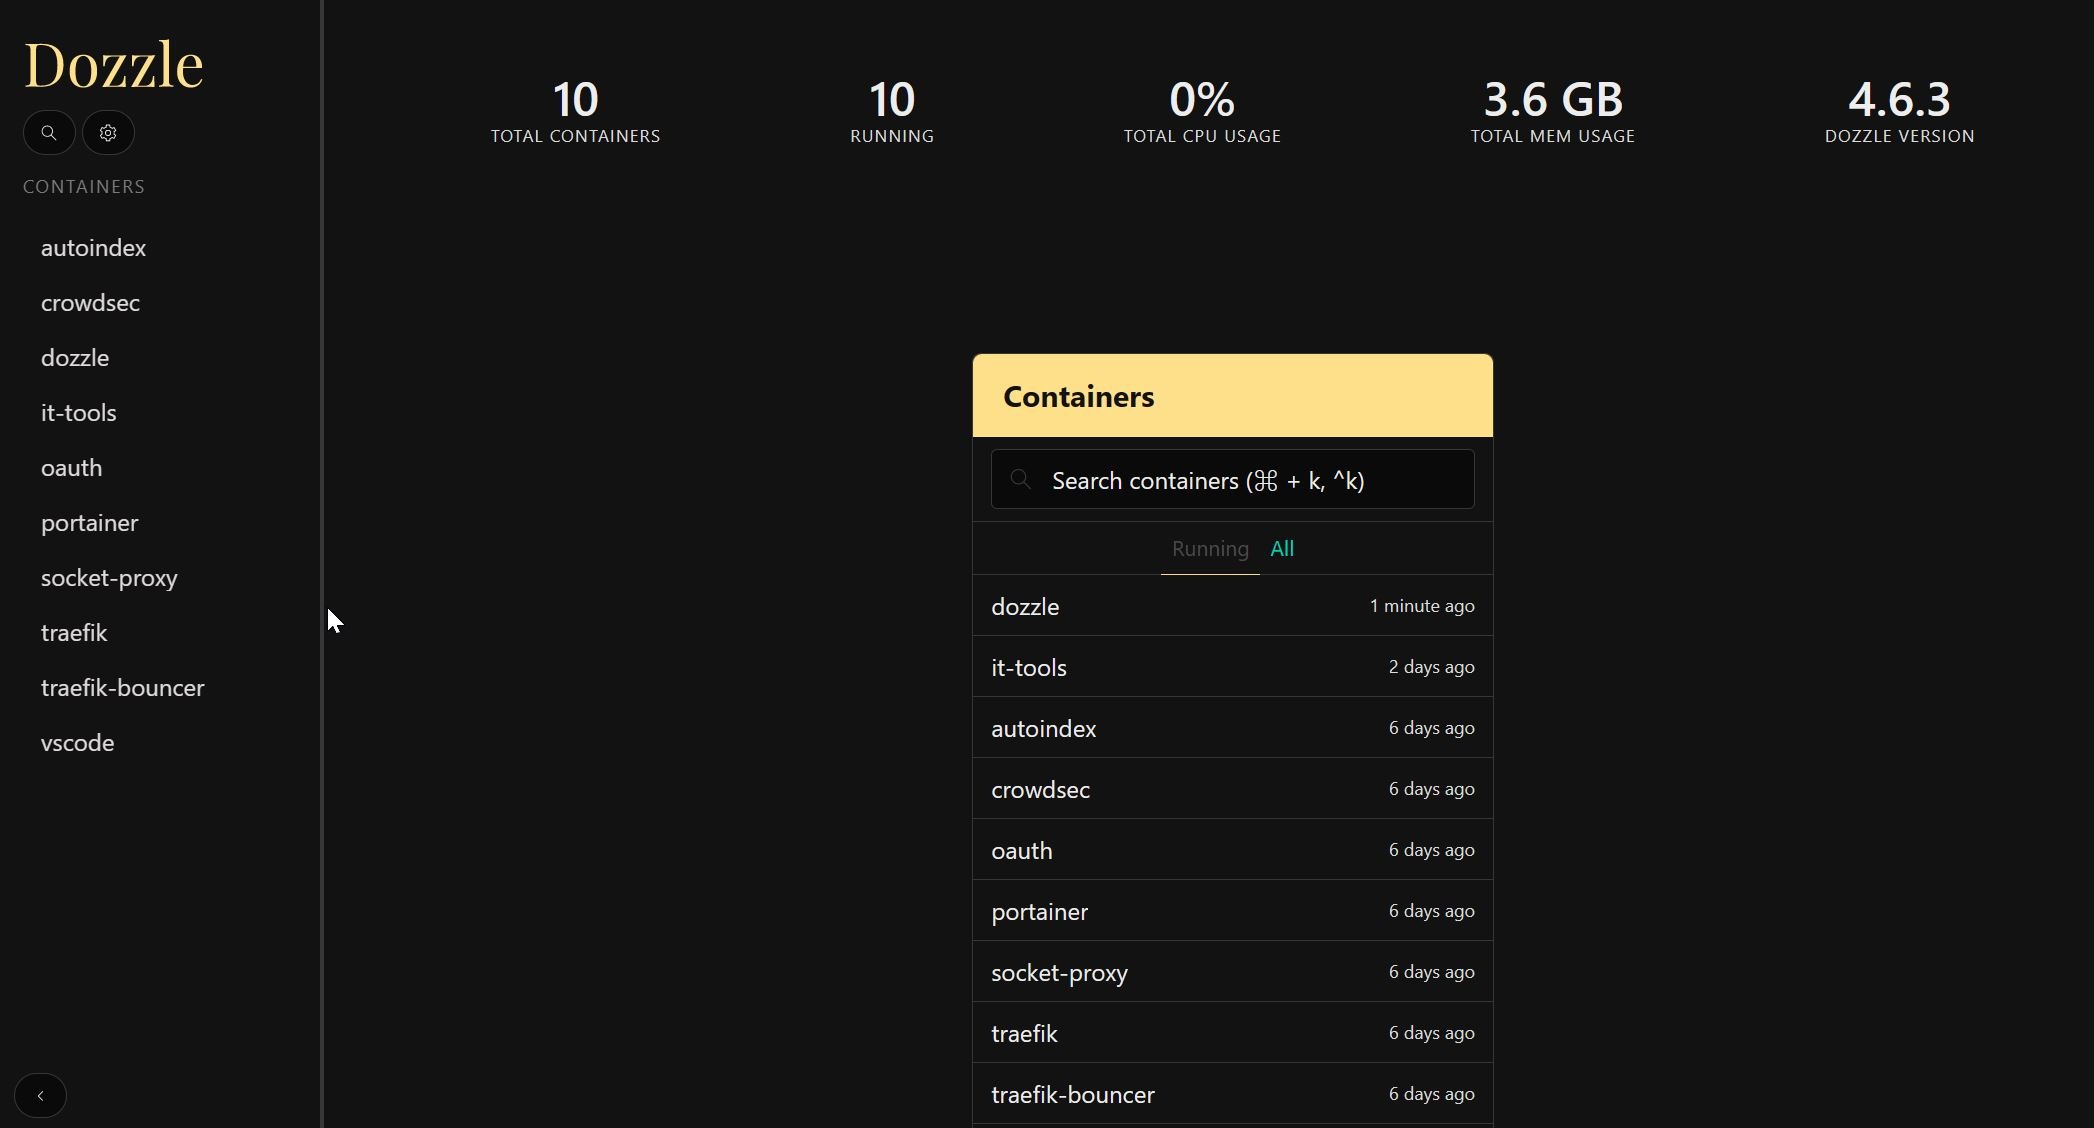
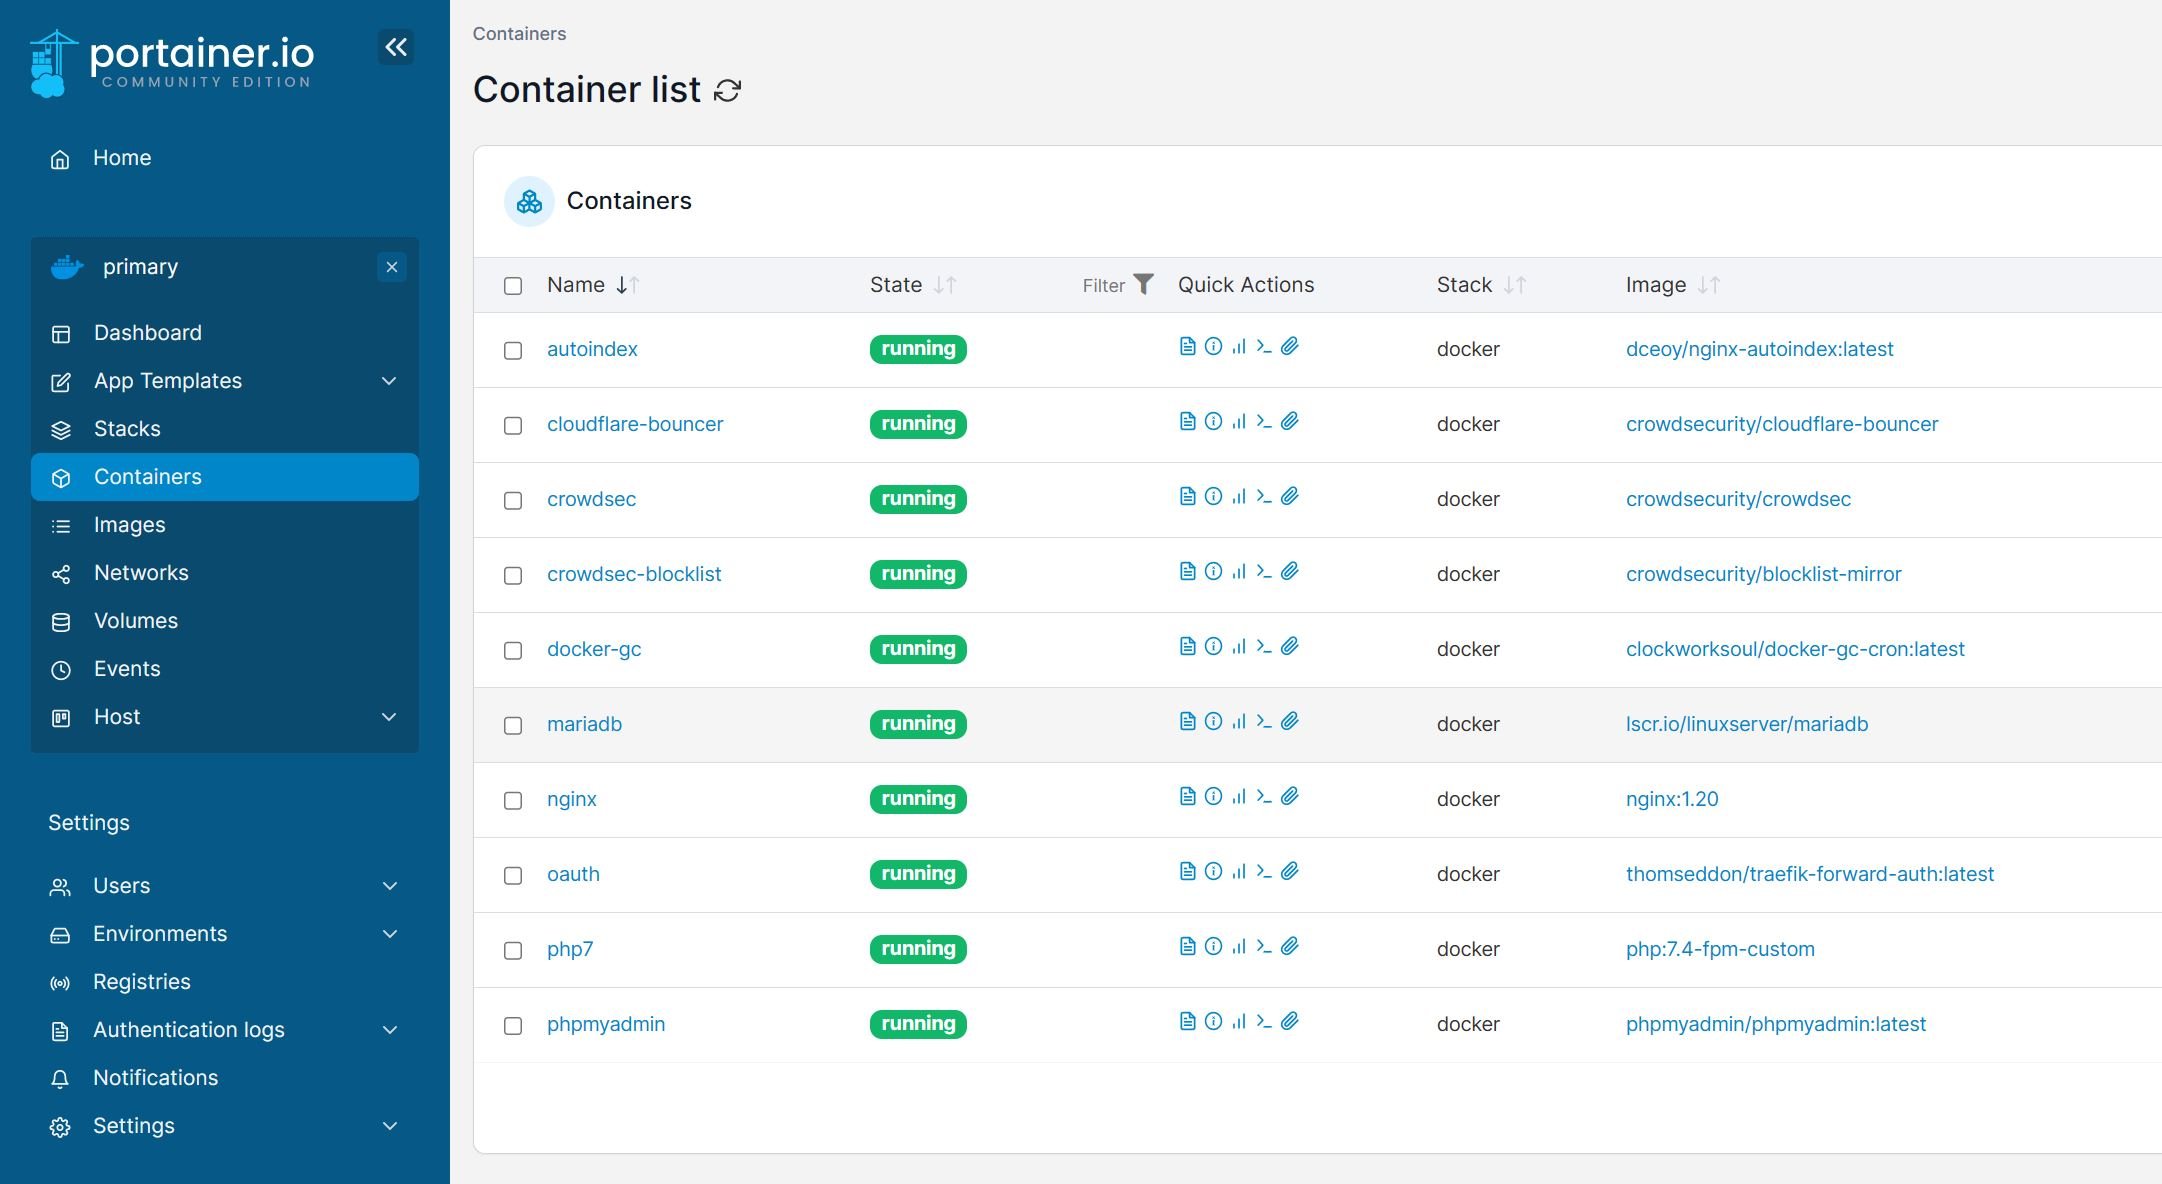
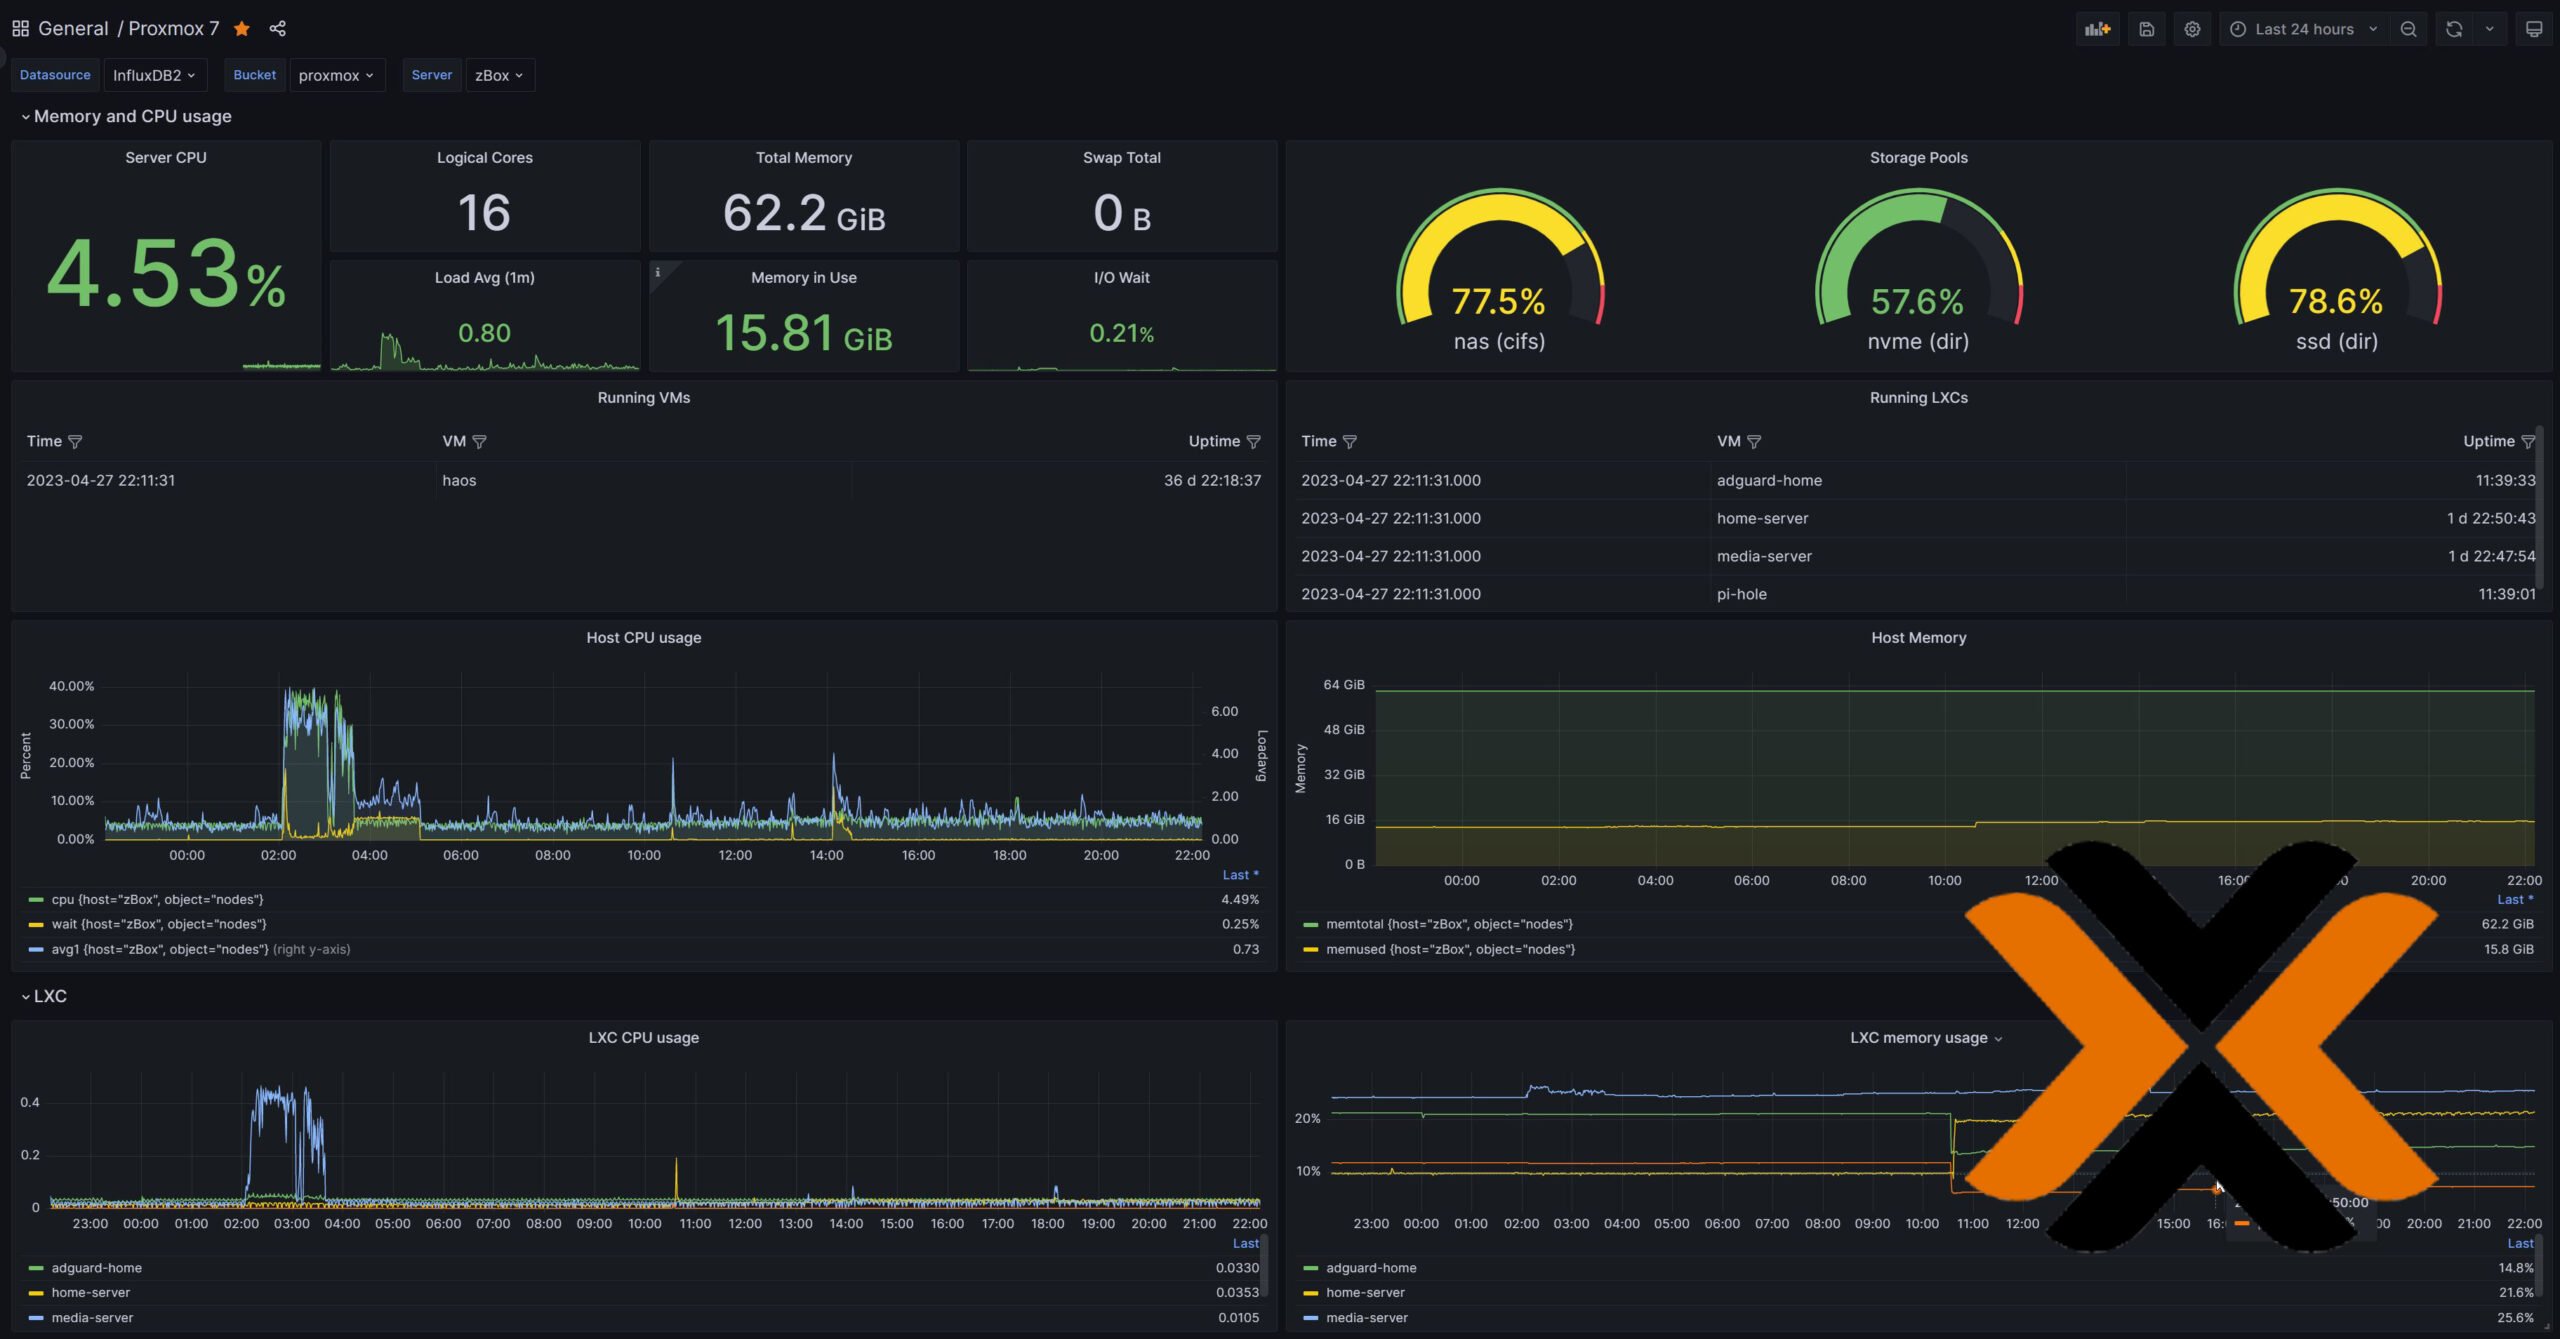
If you have been following my guides over the last 6 years, I have spoken extensively about Docker and Traefik, starting with my Docker Media Server Guide and Traefik Reverse Proxy guide.
Today run over 80 great Docker constainers distributed among my 5 Docker host machines:
- Home Server - Ubuntu 22.04 Server on Proxmox LXC
- Media Server - Ubuntu 22.04 Server on Proxmox LXC
- Web Server - Ubuntu 22.04 Server on Digital Ocean VPS, which is the stack powering this site.
- DNS/Ad-Block Server - Raspberry Pi OS on Raspberry 4B.
- Storage Server - Synology DS918+.
In my Traefik Reverse Proxy guide, I talk about putting external/non-docker apps behind Traefik.
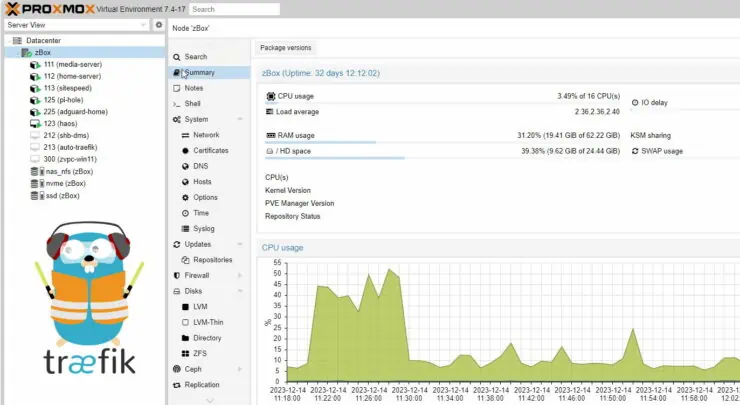
But putting Proxmox web interface behind Traefik reverse proxy is slightly tricky.
Table of Contents
Proxmox VE Behind Traefik Reverse Proxy
By default, Proxmox VE uses a self-signed SSL certificate, which is secure but not officially recognized by certificate authorities. Therefore, you see a insecure connection warning in many browsers.
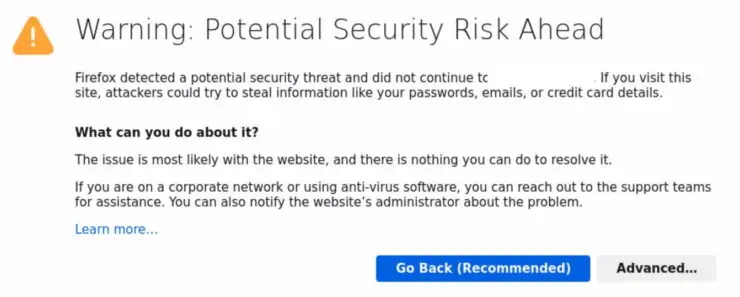
It is quite easy to setup Proxmox VE with proper Let's Encrypt SSL certificates. But this still does not solve the problem with Traefik and requires forwarding port 8006 to the Proxmox host.
Self-signed Certificates and Traefik Problem
When you use the internal LAN IP of the Proxmox VE server in the Traefik file provider that defines the proxy, either a self-signed certificate is served or the valid SSL certificate on Proxmox does not match the URL (internal IP instead of a fully qualified domain name that the certificate was generated for).
By default, in all my setups (and probably yours too if you have followed my guides), I run Traefik with the following option commented out (default):
#- --serversTransport.insecureSkipVerify=true
This means Traefik will check if the SSL connection to the origin (Proxmox in this case) is secure and valid. This results in Internal Server Error in the web browser.
Be the 1 in 200,000. Help us sustain what we do.Join Us (starting from just $1.67/month)
The Easy Fix for Proxmox VE Traefik Problem
Obviously, the easy fix is to disable verification of insecure SSL connections by enabling/uncommenting the above option in Traefik Docker compose, like so:
- --serversTransport.insecureSkipVerify=true
This option and the following Traefik file provider saved inside the rules folder, you should allow you to reach Proxmox Web Interface via Traefik.
http:
  routers:
    proxmox-rtr:
      rule: "Host(`pve.{{env "DOMAINNAME_CLOUD_SERVER"}}`)"
      entryPoints:
        - https
      middlewares:
        - chain-no-auth
      service: proxmox-svc
      tls:
        certResolver: dns-cloudflare
        options: tls-opts@file
  services:
    proxmox-svc:
      loadBalancer:
        servers:
          - url: "https://192.168.1.100:8006"
Note that I assumed you used my Docker and Traefik guides as the base and with Cloudflare as the DNS provider. Otherwise:
- Replace {{env "DOMAINNAME_CLOUD_SERVER"}} with your domain name or define DOMAINNAME_CLOUD_SERVER environmental variable in Traefik docker compose.
- Replace chain-no-auth with the middleware name in your setup.
- Replace https://192.168.1.100:8006 with the URL to your Proxmox VE web interface.
Proxmox Web Interface should now be behind Traefik and be accessible via https://pve.example.com, but with a bit more restrictive security.
Enabling Traefik for Proxmox Web Interface Securely
A more secure way to put Proxmox VE behind Traefik is to disable/comment-out the insecureSkipVerify=true option and slightly modify the Traefik file provider for Proxmox as shown below:
http:
  routers:
    proxmox-rtr:
      rule: "Host(`pve.{{env "DOMAINNAME_CLOUD_SERVER"}}`)"
      entryPoints:
        - https
      middlewares:
        - chain-oauth
      service: proxmox-svc
      tls:
        certResolver: dns-cloudflare
        options: tls-opts@file
  services:
    proxmox-svc:
      loadBalancer:
        passHostHeader: true
        serversTransport: "pve"
        servers:
          - url: "https://192.168.1.100:8006/"
  serversTransports:
    pve:
      insecureSkipVerify: true
Essentially what we are doing here is to enable insecureSkipVerify only for the services using this file provider, which is only Proxmox as defined under services:.
This should also allow you to reach Proxmox Web Interface using the fully qualified domain name https://pve.example.com.
Closing Thoughts
Putting Proxmox web interface behind Traefik, instead of using Proxmox's builtin SSL ACME Let's Encrypt SSL certificate method, allows to avoid forwarding port 8006 on the router/internet gateway to the Proxmox host.
But if Traefik is down, you lose access to the Proxmox Web interface. This is where an overlay mesh network such as Zerotier-One or Tailscale comes in handy. You could also use your own Wireguard network to VPN into your home environment to access Proxmox Web Interface
Finally, this procedure is applicable to all services that use a self-signed certification. Another great example is the Ubiquiti Unifi Controller. I might publish a separate guide specific to Unifi Controller.
For now, I hope that this guide not only showed but also explained how to put Proxmox Web Interface behind Traefik Reverse Proxy, securely.

![Ultimate Docker Server: Getting Started with OS Preparation [Part 1] Docker Server Tutorials 1 OS Preparation](https://www.smarthomebeginner.com/images/2024/01/Docker-Series-01-Intro-and-OS-Prep.png)
