When it comes to getting video surveillance setup, most people go the classic route: They buy the cameras they need and a DVR (Digital Video Recorder) or NVR (Network Video Recorder) to store the footage. [Read: DIY home security system buying guide – 6 things to look for to help your decision]
Running a ZoneMinder Docker container is not for everyone, and there are several good ZoneMinder alternatives. But you may be surprised at how simple and useful ZoneMinder can be.
Self-hosting is an often-overlooked option that could save you some dollars, headaches, and time as well. Installing your own video surveillance server can be done in a matter of minutes and offers great functionality and compatibility.
There are several players in the world of self-hosted video surveillance, but ZoneMinder has secured its place as one of the best. Frigate is a close second. [Read: Frigate Docker Guide for Beginners: Best Free Video Surveillance]
What makes it stand out? ZoneMinder on Docker offers ease of use, good performance, and a wide range of features with minimal setup time.
It can be integrated with Home Assistant and offers object detection, as well as several recording methods.
Table of Contents
- What is ZoneMinder
- Docker Zoneminder Setup
- FAQ
- Docker ZoneMinder Installation: Final Thoughts
What is ZoneMinder
ZoneMinder is a bundle of open-source software that offers a complete surveillance solution. It supports several USB cameras and most IP cameras. You can see part of the supported hardware in the ZoneMinder wiki, although not all supported cameras are listed there.
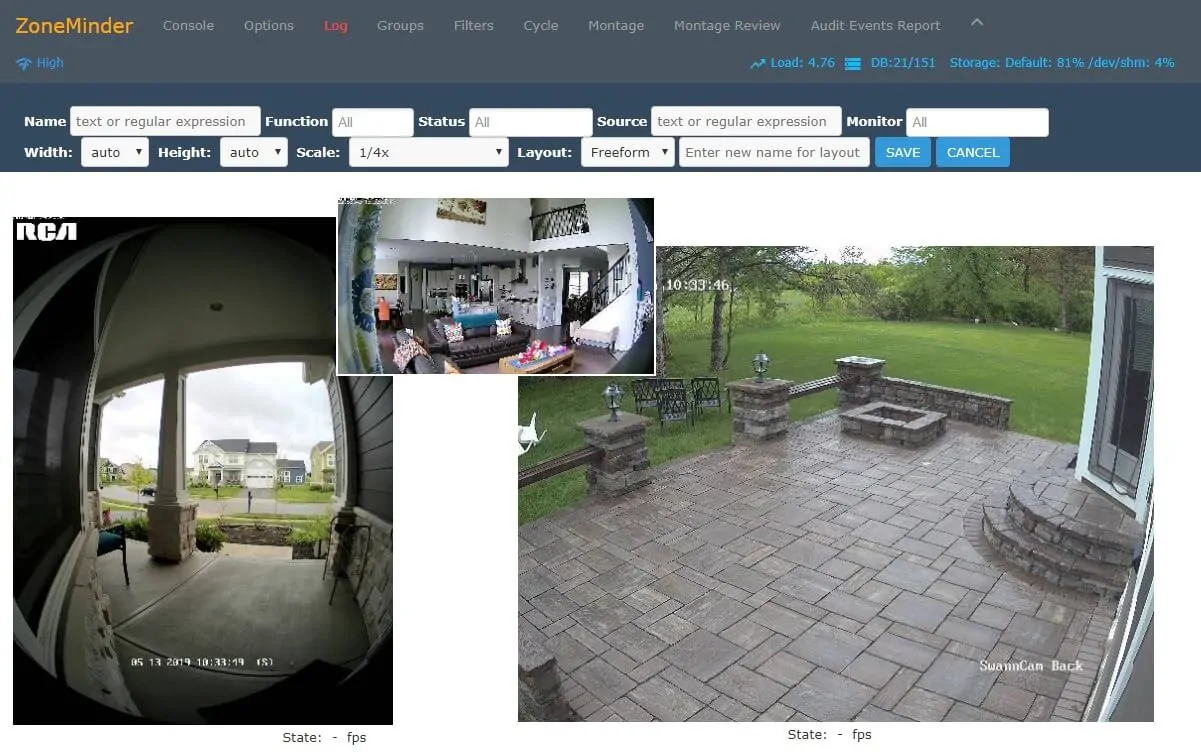
Video streams in ZoneMinder can be recorded, analyzed, and monitored with different configuration options. [Read: 8 Best free Wi-Fi camera apps for monitoring home security on desktops]
Once you configure motion detection you can browse and audit motion events to go through your footage easily. This helps alleviate the hassle of watching a lot of videos to find a tiny number of interesting frames.
Another advantage of this tool is that it can be installed on an old computer you may have lying around or used on a powerful server to manage dozens of cameras. Just remember that videos can use up a lot of bandwidth, memory, and processing power.
This means the hardware your setup needs will depend on the quality and quantity of video feeds, whether it runs object detection, etc.
ZoneMinder Installation Methods
ZoneMinder can be installed on most Linux distros such as Ubuntu, Debian, and RedHat. A Windows setup can also be achieved by using WSL.
However, the simplest and quickest method available is to use a Docker ZoneMinder image. By installing ZoneMinder using Docker, you can run this software on Linux or Windows and even switch platforms easily if needed.
Having this much flexibility means ZoneMinder software suite can be implemented into a running home server or shaped as a standalone setup. This remains true even if you intend to use a mix of old and more recent hardware.
Related Posts
- MotionEye Docker Guide for Beginners: Simplest NVR
- Frigate Docker Guide for Beginners: Best Free Video Surveillance
Docker Zoneminder Setup
Home surveillance systems often have a lot of software dependencies and configurations required to run, but that is simplified by using Docker images.
This method makes other maintenance tasks easier, such as reinstalling or backing up your system. For more advanced users, managing network connectivity becomes more straightforward too.
By installing Zoneminder through docker you will be making minimal changes to your operating system, which is ideal for testing purposes. You may also want to do some testing and playing around to get to know your new home security server. Docker also shines in that case, making it painless and straightforward to snapshot, restore or delete images.
Step 1: Getting Started with ZoneMinder Docker
For the rest of this article, I'm going to assume you have Docker installed on your system. If not, checkout these basic articles:
- What is Docker: Docker vs VirtualBox, Home Server with Docker
- How to Install Docker on Ubuntu: A Step-by-Step Guide
Step 2: Download ZoneMinder Docker Image
While the commands below work for any host OS, you may need to run them using sudo if you are using Linux.
We will make use of Dan Landon's ZoneMinder docker image because it is the fastest and easiest way to get started. First, download the image using the docker pull command:
docker pull dlandon/zoneminder.machine.learning
While the download completes, use the official PHP website to find the code for your timezone.
For example, if you are installing in Los Angeles, you should use: TZ="America/Los_Angeles". If you followed Anand's Docker media server guide, this should have already been set in the environmental variable TZ.
Step 3a: ZoneMinder using Docker Run Command
Now you are ready to run ZoneMinder by executing docker run. Go to Step 3b below, if you prefer Docker Compose instead.
The command below includes the basic settings, just make sure you set the timezone in the option starting with TZ= .
docker run -d --name="Zoneminder" --net="bridge" --privileged="false" --shm-size="8G" -p 8443:443/tcp -p 9000:9000/tcp -p 8080:80/tcp -e TZ="America/New_York" -e PUID="99" -e PGID="100" -e MULTI_PORT_START="0" -e MULTI_PORT_END="0" -v "/mnt/Zoneminder":"/config":rw -v "/mnt/Zoneminder/data":"/var/cache/zoneminder":rw dlandon/zoneminder.machine.learning
If everything's right the command line will display the full container ID, which will look a lot like this:

Step 3b: ZoneMinder Docker Compose
Another way (and preferred way) for Docker ZoneMinder installation is to use Docker Compose.
This will make it easier to stop and start your ZoneMinder container and to make changes if needed.
All you need to do is copy the code below and paste it into a file named docker-compose.yml, setting the TZ= option.
Your docker-compose.yml should look like this:
version: '3'
services:
  zoneminder:
    image: dlandon/zoneminder.machine.learning
    container_name: Zoneminder
    privileged: false
    shm_size: 8G
    ports:
      - '8443:443/tcp'
      - '9000:9000/tcp'
      - '8080:80/tcp'
    environment:
      - TZ=America/New_York
      - PUID=$PGID
      - PGID=$PGID
      - MULTI_PORT_START=0
      - MULTI_PORT_END=0
    volumes:
      - /mnt/Zoneminder:/config:rw
      - /mnt/Zoneminder/data:/var/cache/zoneminder:rw
Customizing ZoneMinder Docker Setup
Here are some notes to understand and customize the above ZoneMinder docker-compose example:
- We are using the dlandon/zoneminder.machine.learning ZoneMinder docker image from Docker hub.
- ZoneMinder will belong to the default bridge network. This is fine for most users.
- We are also mapping several of the ZoneMinder container ports (right side of the colon) to the Docker host (to the left of the colon). ZoneMinder will be available on the Docker host IP at ZoneMinder Docker port 8080.
- With $PUID and $PGID, we are specifying that ZoneMinder runs as the user id and user group. You can obtain these using the id command on Linux.
- Under volumes, we are mapping a persistent volume for ZoneMinder configuration, another volume that will contain the recordings.
Start ZoneMinder Docker Compose
After customizing the ZoneMinder Docker Compose file, you can start ZoneMinder using the following command:
sudo docker compose up -d
Be sure to refer to our Docker guide to understand how you can follow the logs to check the start-up of the ZoneMinder docker container. You may use Dozzle logs viewer for real-time logs viewing.
-d option makes containers run in the background. If you omit this the ZoneMinder docker container will stop when you close the terminal. Removing it may be useful for debugging purposes.If all goes well, in a few minutes, you should see a message saying that the container Zoneminder was started.

Step 4: Accessing Docker ZoneMinder Container
Now that your container is up and running, all you have to do to start using ZoneMinder is access the web interface at http://ServerIPadress:8080/zm/.
In my case, it's http://192.168.0.32:8080/zm/.

You should see the terms and conditions screen on your first access and will be redirected to the main page after accepting them.
You can use docker container ps to see which containers are running and docker stop Zoneminder to stop the container at any time.
5. Accessing ZoneMinder Over the Internet
Accessing ZoneMinder from within your home network should work fine (described above). But what if you want access to ZoneMinder on the go from outside your home network?
Well, there are many ways to do this.
The easiest and slightly insecure way to do this is to forward port 8080 on your router/gateway to point to your ZoneMinder server.
Accessing ZoneMinder with VPN
A secure way to access ZoneMinder is to connect to your home network using a VPN service. Home routers and network-attached storage devices sometimes come with a built-in VPN server. Once connected, you can use the same home network IP address of your ZoneMinder Docker server.
You may also use a third-party VPN mesh network such as Tailscale or Zerotier-One.
Another alternative is to set up your own Wireguard network. But this is a more advanced topic.
Other Posts in the Wireguard Series:
- Wireguard VPN Intro in 15 min: Amazing new VPN Protocol
- Complete Wireguard Setup in 20 min – Better Linux VPN Server
- Wireguard Windows Setup: Powerful VPN for Windows
- Wireguard Mac OS Client Setup – The sleek new VPN
- Wireguard Android Client Setup – Simple and Secure VPN
- Ultimate WireGuard Docker Compose: with CF and Traefik Support
Exposing ZoneMinder with Reverse Proxy
Another secure way to access ZoneMinder is to put it behind a reverse proxy. But this requires a domain name or a DDNS.
Nginx Proxy Manager is very simple to setup but not very flexible.
We use and recommend Traefik. You can read all about setting it up in Anand's Docker Traefik guide or refer to his GitHub repo.
With a reverse proxy, you can access ZoneMinder using a nicer URL (e.g., https://zoneminder.example.com).
FAQ
You may have additional questions about this Docker ZoneMinder setup and other available home surveillance servers. Let's go over some of the most common inquiries.
How to setup ZoneMinder as a docker container?
ZoneMinder can be setup in docker using Docker Run command or using Docker Compose, both of which are described in this guide. Using Docker compose is easier and the recommended way.
What is the latest version of ZoneMinder?
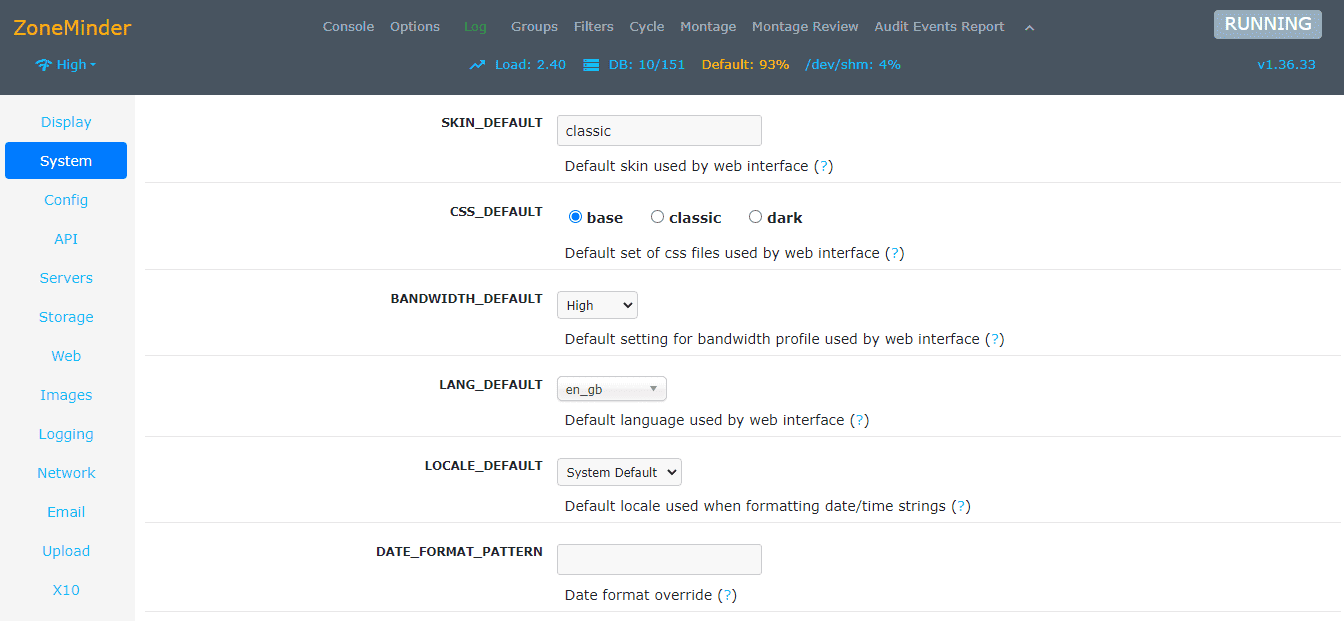
At the time of writing this guide (May 2023), the latest stable version of ZoneMinder available is 1.36.33. The Docker image used in this article will get you working on version 1.36.10.
What are some ZoneMinder Alternatives?
There many Zoneminder alternatives, both free and paid. Here are a few examples: Shinobi, Frigate, Blue Iris, Motion Eye, iSpy, etc. ZoneMinder is one of the best due to its active community and wide compatibility.
Docker ZoneMinder Installation: Final Thoughts
If you followed this article, you should have learned how to install ZoneMinder on Docker, using both Docker run command and Docker Compose.
Installation should be straightforward if done as this article has shown. However, don't discard this great tool if you run into issues, especially if using older hardware. It may take a little tinkering to get things going, but it's worth it to build a system that will last for a long time.
In future posts, I may share some recommendations on how to set up ZoneMinder to unlock its full potential. Integration with Home Assistant is one of its greatest strengths, and you shouldn't miss out on that if you are into home automation. In addition, a mobile app like zmNinja can come in handy too.
Otherwise, I hope this guide helped you get started with ZoneMinder on Docker.

