Port forwarding (aka port mapping) is the process of forwarding internet packets to specific hosts based on the defined routing table. In this post, I will explain how to setup port forwarding on your router. You should know how to setup port forwarding if 1) you have services like Web Server, SSH, CouchPotato, Sick Beard, SABnzbd, qBittorrent, Transmission, Deluge, ShellInABox, or Webmin, 2) you would like to be able to access these services from outside your local network (internet), and 3) your computers / hosts running these services are behind Network Address Translation (NAT) or DHCP server. A NAT or DHCP device is the one that assigns local IP addresses (example: 192.168.X.X) to all your connected devices. It is of many types but in this post we will setup port forwarding on a router.
Table of Contents
Port Forwarding Basics
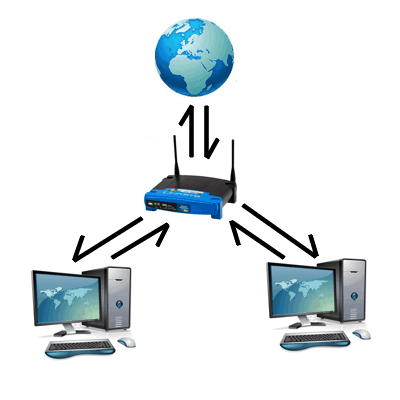
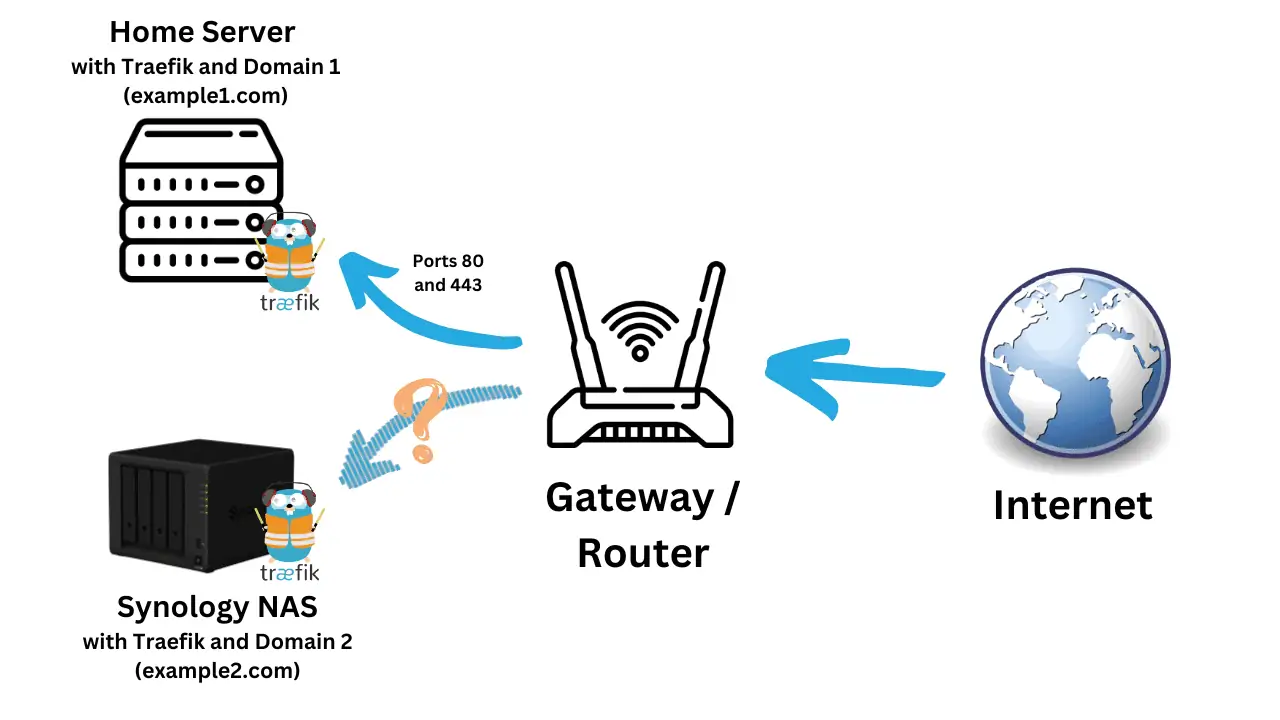
Before we setup port forwarding, it is best to understand what it is. Let us consider a simple analogy of a business complex consisting of two office buildings A and B. The administration and sales departments are in Building A and service and research departments are in Building B. Each has their own mailbox (1, 2, 3, and 4) in their respective buildings. In such a scenario, the street address of the office complex is like the external IP address of your network. The Building name (A/B) is like the internal IP address of the host / computer that is running a particular service. The mailbox number is like the port number. Any package (internet packet) received at your street address (external IP address) for specific mailbox (port) will be automatically diverted the correct building (internal host) with the correct department (service) that is accepting deliveries through its mailbox (port). To avoid conflicts during routing two services cannot run on the same port. The following picture shows a schematic representation of port forwarding.

Setup Port Forwarding on a Router
Recently, I replace my Linksys WRT320n running DD-WRT with an Asus N66U running Asus-WRT (Merlin’s build). If you forgive the cost, it is by far THE best router I have ever owned. Anyway, pictures below are from the Asus-WRT web interface but other router firmwares should look very similar and so no matter what router you own, you should be able to setup port forwarding on it using this guide.
ASUS (RT-AC68U) Wireless-AC1900 Dual-Band Gigabit Router
Find out why it is rated the best wireless router in its class.
Services, ports, and IP address
The first thing you should do is list all the internal IP addresses of the computers that are running services such as Web Server, SSH, CouchPotato, Sick Beard, SABnzbd, qBittorrent, Transmission, Deluge, ShellInABox, or Webmin. Next, identify and note down the ports on which these services are listening to. That is basically all you will need to setup port forwarding on your router. Typically, most of the above services will be running on your media center PC and most people have only one server at home. If you have more than one home server running the same service then make sure that the service is setup to listen on different port numbers on different hosts. Our guides on the above services explain how to change the port numbers on which those services listen. Remember, that services could also be internet connected game (example: Ages of Empires) and hosts/servers could be your game console (example: XBOX Live). Once you have all the numbers, you ready to setup port forwarding on your router.
Enable Port Forwarding
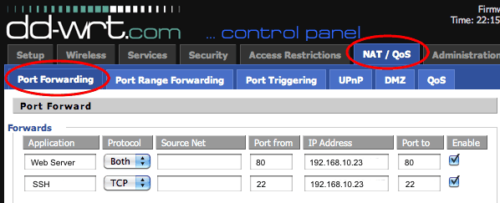
Fire up your browser and go to your router’s web interface (typically: 192.168.1.1). Login and navigate to the section where port forwarding is available. On Asus-WRT firmware, it is available under Advanced Settings -> WAN -> Virtual Server / Port Forwarding. On DD-WRT firmware , it is available under NAT/QoS -> Port Forwarding. On DD-WRT if you want to specify a range of ports to forward then go to Port Range Forwarding instead of Port Forwarding.
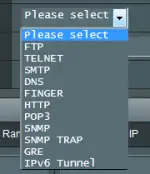
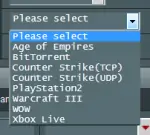
Some firmwares, like Asus-WRT, offers a predefined list of services and games you can choose from but most firmwares, including DD-WRT, do not.
 |  |
In most firmwares, you can setup port forwarding by creating a routing table. These tables typically have one or more of the following columns (Service, Port or Port Range, internal IP address, local port, and protocol (TCP/UDP/Both). Start creating your routing table based on the services, IP addresses, and ports data you collected previously. The Asus-WRT firmware shows some of the most common services that run on a home server and the default ports on which they listen. Your port numbers may be different (in fact, for added security, we recommend that). Below I have provided examples from both Asus-WRT firmware.
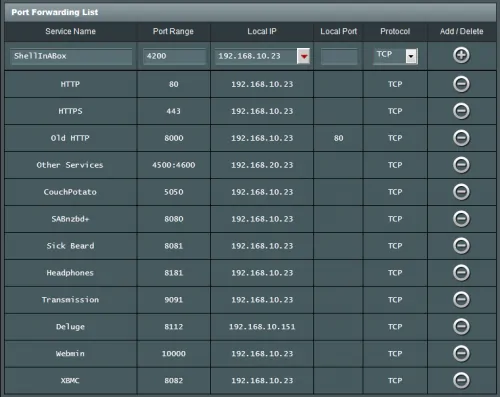
Note that most services listen on TCP ports and therefore you can choose "TCP" or "Both" (TCP/UDP) for protocol. You will rarely have to specify an internal or local port. In my case (Old HTTP in the above table), I was previously running an Apache webserver on port 8000 because my ISP was blocking port 80. Some of those backlinks were still active. To keep this traffic, I had to divert all connections from received on port 8000 to port 80 which is what my new Apache webserver listens to.
On Asus-WRT port range forwarding is specified like this: XXXX:XXXX (as shown in picture above for Other Serivces). On DD-WRT you can specify this by going into Port Range Forwarding. Shown below is a much smaller but similar Port Forwarding table from DD-WRT firmware.
Apply the new settings and reboot your router. Now you should be able to access your services remotely. That is all there is to it. Go ahead, setup port forwarding and enjoy being able to access your services from anywhere.

